Skip to content
Web app guide

Artisan View in the browser,
section by section.

The web version has the same areas as the app: formulas, batches, inventory, sales, expenses and reports. This guide shows how to use each one and explains why it needs Google Drive.

Before you start

01

An Artisan View account

Sign in with Apple, Google or email. It is the same account as on the website, and it works in the apps too.

02

An active plan

The web version opens with any active plan on your account: monthly, yearly or lifetime. Without a plan it shows the plans so you can choose.

03

A Google account with Drive

The first time, you connect Google Drive. Without that connection the web version does not open its sections, because Drive is what stores and carries your data.

Why Google Drive

The web version has no server holding your data.

It keeps everything in your browser and uses Google Drive as the bridge to your other devices. It is a choice for privacy and for compatibility.

It is what every device has in common

iPhone, iPad and Mac sync through iCloud, but iCloud does not exist on Android, on Windows or in a browser. Google Drive works on all of them. That is why it is the route for the web app, Android and Windows, and the iPhone offers it too.

A browser is not a vault

Clearing site data, opening a private window or switching computers wipes what the browser stored. With Drive there is a copy outside the browser, which is why the connection is required.

A hidden folder, only for Artisan View

The app asks only for the app data folder permission (drive.appdata). It creates one file in a hidden folder that only Artisan View can see. It does not read, list or change the other files in your Drive, and you will not see that file in your file list.

Your data stays in your account

The file is the same backup the apps use, kept in your Google Drive. Artisan View does not store your formulas, inventory or sales on its own servers. To sync without asking for your Google sign-in every time, the site keeps only an encrypted access key. When you click Disconnect Drive, that key is deleted and revoked at Google.

How syncing works

  1. You edit in the browser Every change is saved in the browser at once. Nothing waits for the internet to be recorded.
  2. The app compares with Drive Every few minutes, or when you click Sync now, it compares the browser with the Drive file. If only one side changed, it uploads or downloads on its own.
  3. If both sides changed Nothing is written until you decide. Merge joins the data and, for the same record, the Drive version wins. Replace drops the browser data and uses the Drive file.
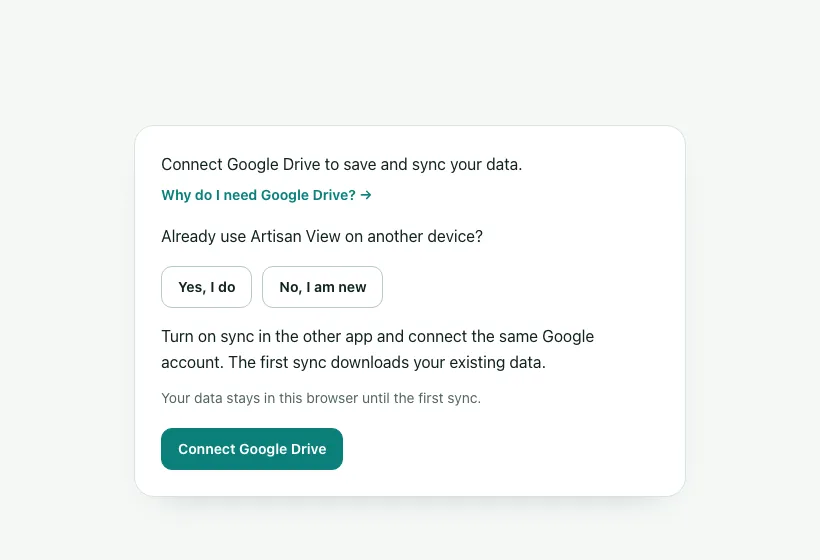
Google Drive connection screen of the web app, asking whether you already use the app on another device

I already use Artisan View on another device

  1. In the app (iPhone, Android or Windows), open Settings and turn on Google Drive sync, if it is not on yet.
  2. In the web version, connect the same Google account. It can differ from the account you signed in to Artisan View with.
  3. Answer that you already use the app on another device. The first sync downloads the data that exists instead of starting empty.
  4. Wait for the Synced notice before you edit.

First steps, in the order that works

  1. In Settings, enter your work days, hours and margin target.
  2. In Inventory, add your ingredients (with the purchase: quantity, unit and price) and packaging.
  3. In Formulas, create the first formula and see its cost and suggested price.
  4. In Inventory, record the purchase of the ingredients so there is stock.
  5. In Batches and shelf life, produce the batch. Ingredients leave inventory and the finished product enters.
  6. In Sales, record the sale. It takes the product out of inventory and enters the result.
  7. In Overview, follow the month and the year.
Section by section

What each section does.

The web menu follows the app menu. Everything is connected: what you produce uses up inventory, what you sell comes out of the finished product, and it all reaches the result.

Home

The daily dashboard. It shows the month at a glance and what needs attention.

How to use it
  1. See the month revenue, balance, outgoings and items sold, and the revenue of the last six months.
  2. Read the alerts: ingredients below the minimum, expired or expiring batches and orders due today or late.
  3. Use the shortcuts to produce a batch, sell or record a purchase.
Overview

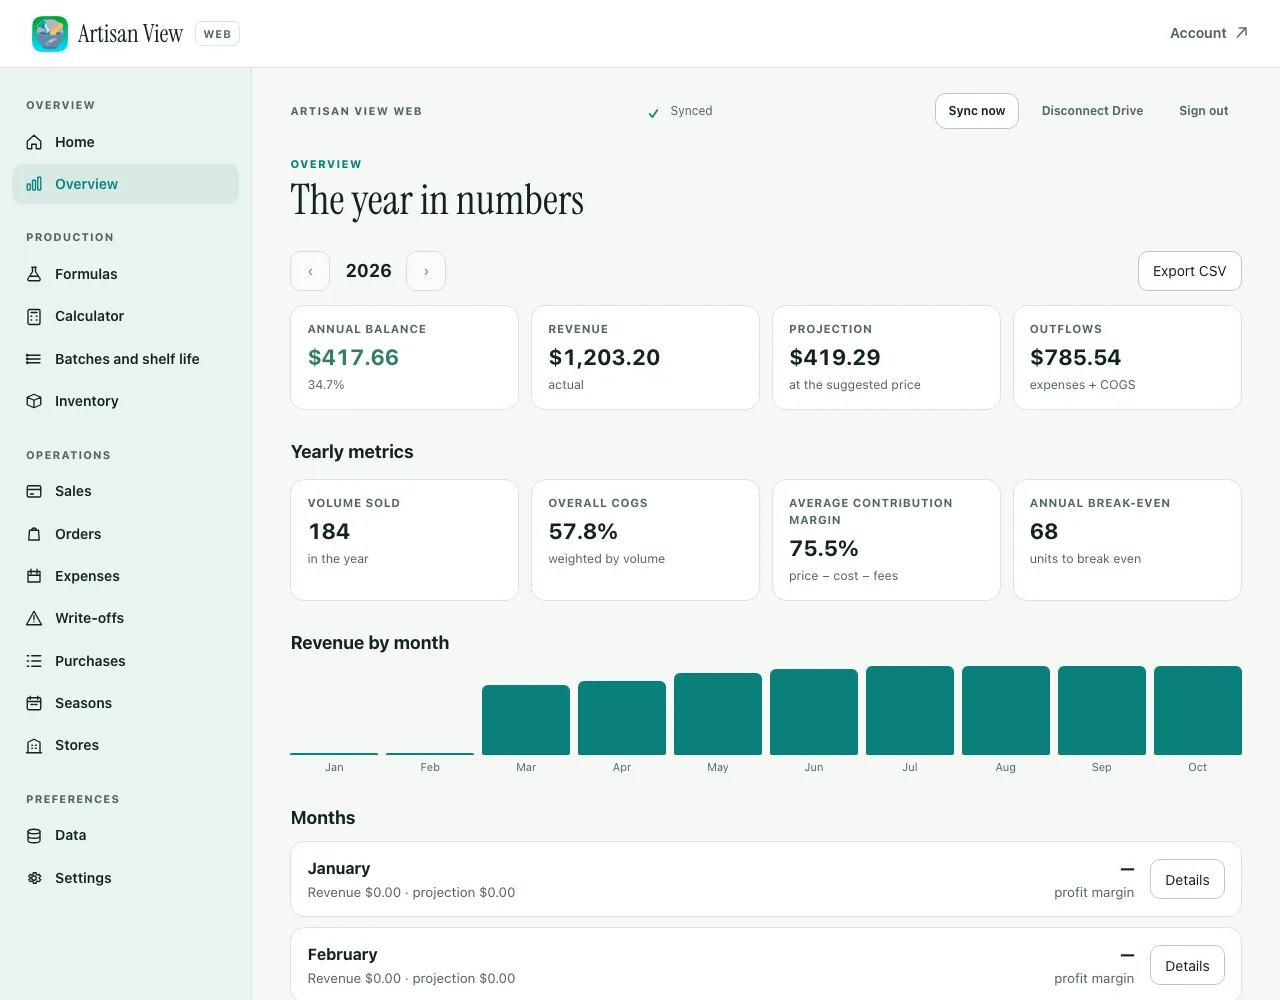
The year in numbers: balance, revenue, projection at the suggested price, outgoings, overall COGS, average margin and break-even point.

How to use it
  1. Change the year with the arrows.
  2. Open a month with Details to see the result by sales channel and to add one-time items, which are income or costs that do not repeat.
  3. Download the year summary as CSV.
Overview screen of the web app, with balance, revenue, yearly indicators and a chart by month

Formulas

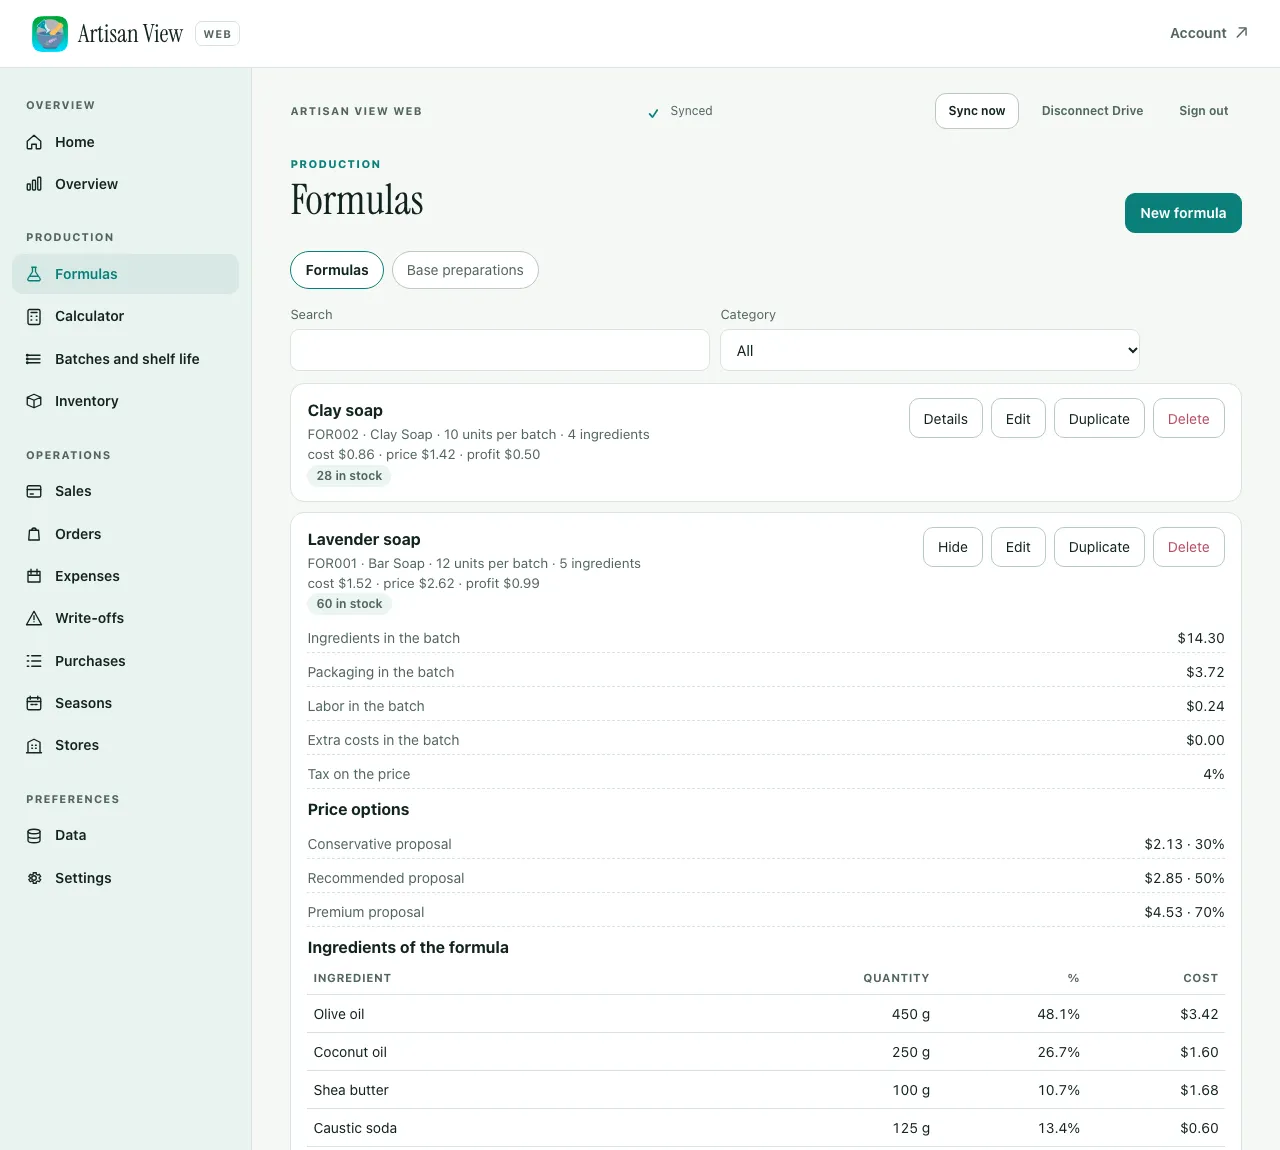
Each formula holds ingredients, packaging, work minutes, taxes and margin. The app works out the cost per unit, the suggested price and the profit.

How to use it
  1. Add the ingredients and packaging it uses first.
  2. Create the formula, enter the yield and add the ingredients with quantity and unit. The cost and the INCI list appear as you type.
  3. Enter cure days, shelf life and pH range so batches inherit them.
  4. In the Base preparations tab, create bases and use them inside other formulas.

Good to know. Locking the margin makes the formula use its own margin instead of the business target. A fixed selling price shows the profit at that price.

Formulas screen of the web app, with the cost, suggested price and ingredient list of the Lavender soap formula

Calculator

Simulates without saving anything: a formula price with another margin, batch price, caustic soda, batch scale and percent to grams.

How to use it
  1. Pick the tab.
  2. Fill in the fields. The result changes at once.
  3. Check the lye against a second source before you produce.

Batches and shelf life

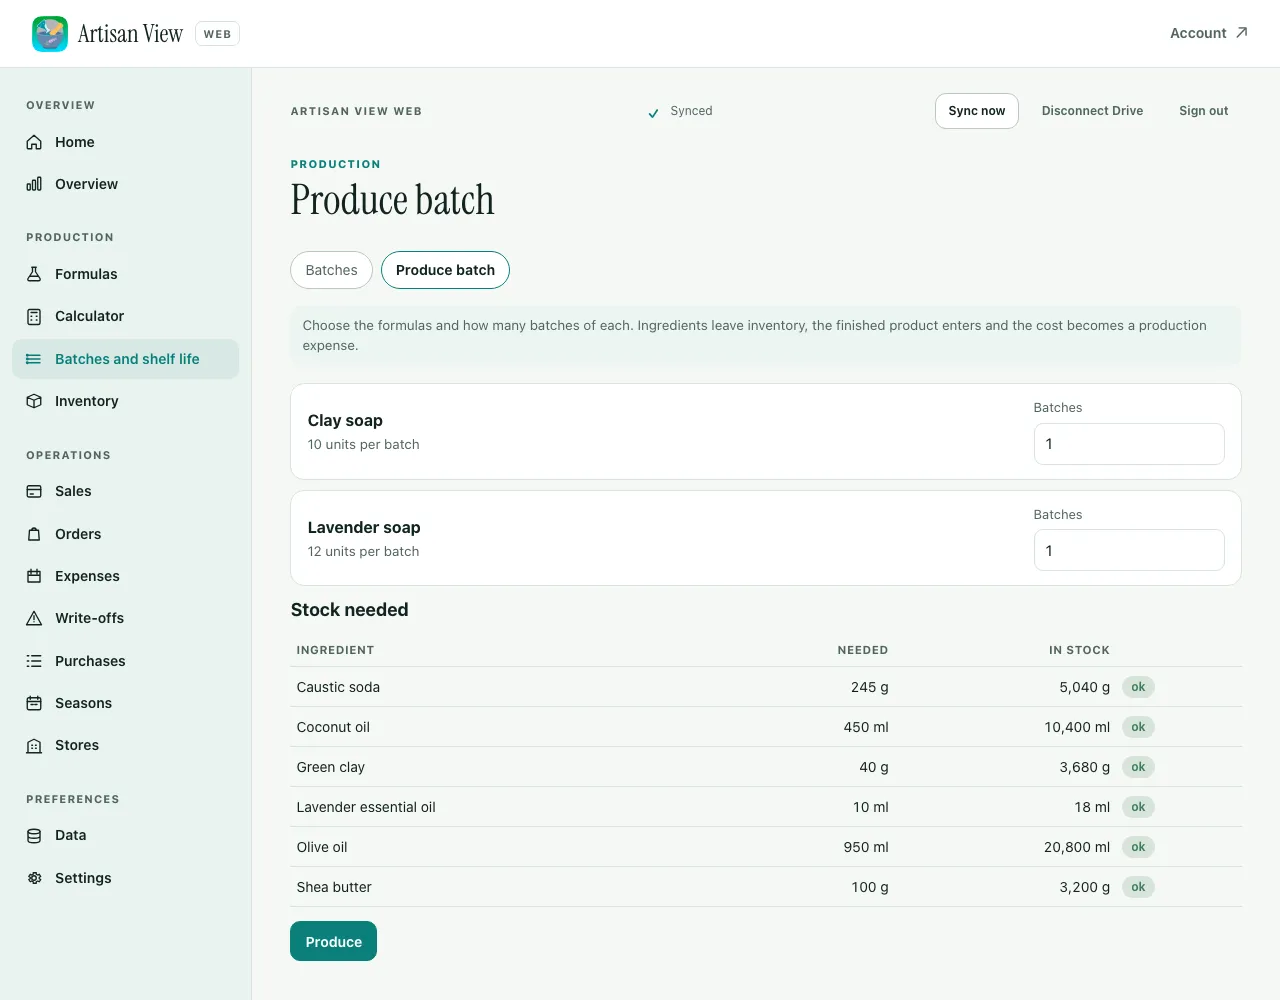
Produce batch uses up ingredients from inventory, adds the finished product and records the batch with a code, expiry and the formula used.

How to use it
  1. In Produce batch, tick the formulas and how many batches of each.
  2. The app shows what is needed and what is in stock. If something is short, create a shopping list with what is missing.
  3. Produce. Then, in the Batches tab, note the measured pH, the expiry and notes.
Produce batch screen of the web app, with the chosen formulas and the check of the stock needed

Inventory

Four tabs: ingredients, packaging, inventory and finished products.

How to use it
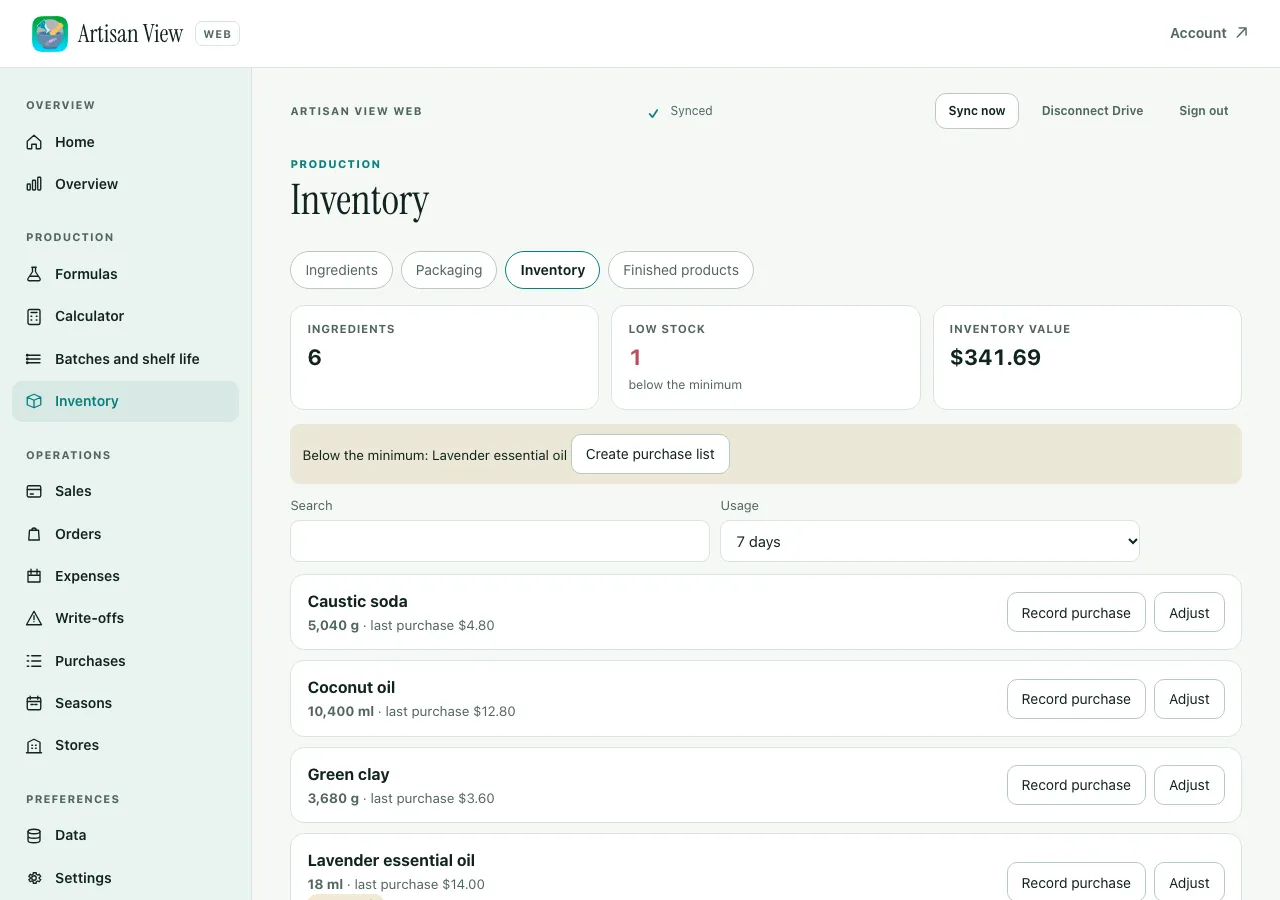
  1. In Ingredients, enter the purchase (quantity, unit and price). The app works out the cost per gram or milliliter and keeps the price history.
  2. In Inventory, record purchases or adjust the count. A purchase adds to the balance, updates the ingredient cost and becomes a production expense.
  3. In Finished products, see what is on the shelf and the cost of each unit.
Inventory screen of the web app, with the balance of each ingredient and the low stock alert

Sales

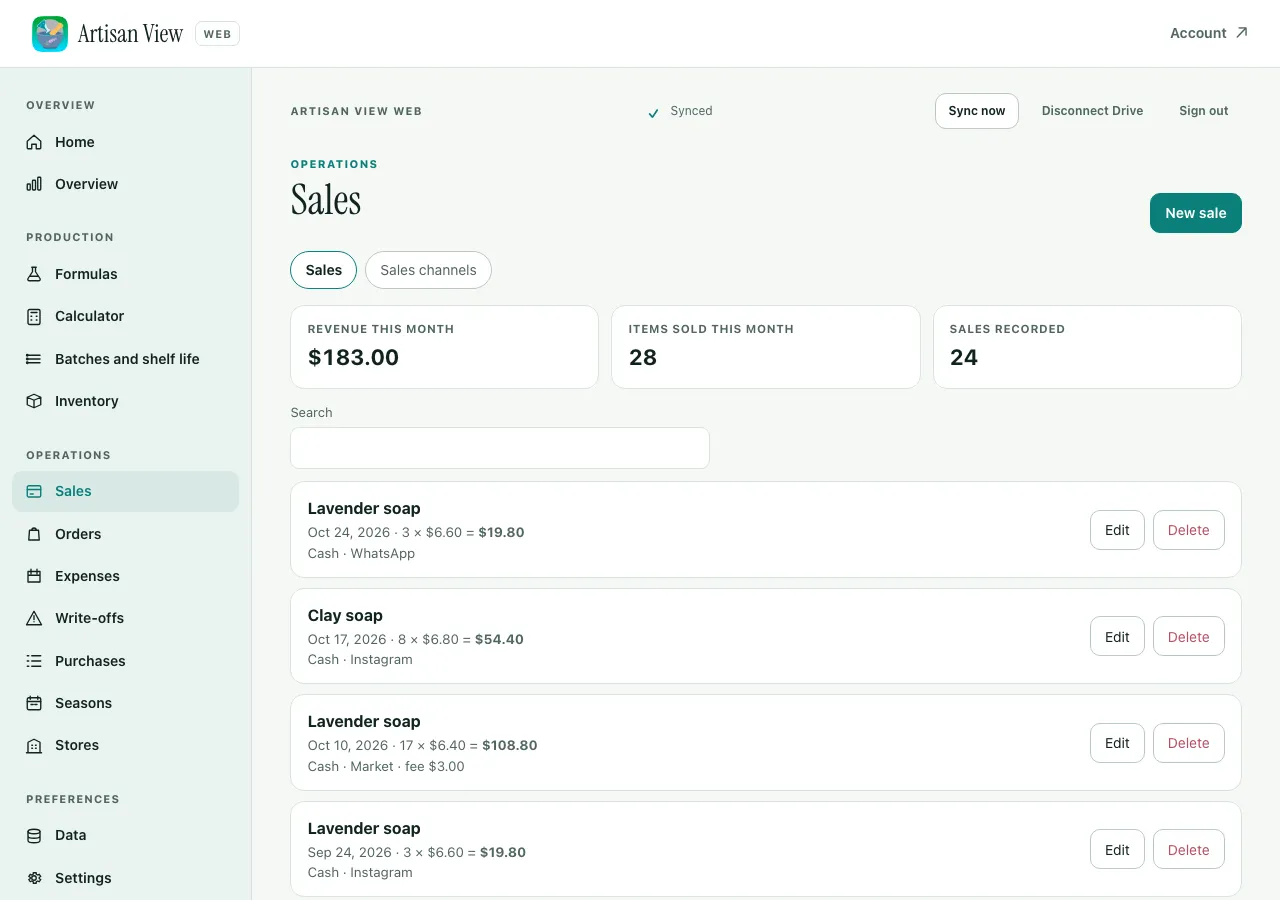
Each sale takes the product out of inventory, freezes that day cost and enters the result of the month.

How to use it
  1. Produce a batch first, because the sale comes out of the finished product.
  2. Choose the formula, quantity and payment method. The price comes in at the suggested one, and the sales channel fee fills in on its own.
  3. To sell several products together, add another product to the same sale.
  4. In the Sales channels tab, enter the commission and fixed fee of each channel.

Good to know. Deleting a sale puts the stock back on the product.

Sales screen of the web app, with the revenue of the month and the list of sales by channel

Orders

Customer orders with a delivery date.

How to use it
  1. Record the customer, product, quantity, price and date.
  2. Move the status along: pending, in production, ready and delivered.
  3. When you mark it delivered, the order becomes a sale. Moving it to another status removes that sale.

Expenses

Fixed and variable costs and depreciation feed the hourly cost and the result of the month.

How to use it
  1. Add rent, power, internet and other monthly costs.
  2. For depreciation, enter the asset value and the category: the app suggests the monthly amount.
  3. Use the One-time items tab for income and costs that do not repeat.

Good to know. Purchases and batches create production expenses on their own.

Write-offs

A record of what expired, broke or became a giveaway.

How to use it
  1. Choose the finished product in stock and the quantity.
  2. Enter the reason.
  3. Inventory goes down. Delete the write-off and the quantity comes back.

Purchases

Lists of what you still need to buy.

How to use it
  1. Create a list and add ingredients or packaging. You can also generate one from low stock or from a production.
  2. Mark the item as bought, with the quantity and price paid. Inventory and the ingredient cost update and the expense is booked.
  3. Unmarking or deleting a bought item undoes the purchase.

Seasons

Easter, Christmas, Mother's Day: a multiplier that changes only the displayed price.

How to use it
  1. Pick a suggested date or create your own.
  2. Set the multiplier and see the preview on your formulas.
  3. While the season is on, formulas show the adjusted price. The formula itself does not change.

Stores

For anyone with more than one point of sale, up to five.

How to use it
  1. Add the stores.
  2. Tick the store on each formula and ingredient, or leave it blank to apply to all.
  3. With two or more stores, a picker filters formulas, ingredients and inventory.

Data

Full backup and spreadsheets.

How to use it
  1. Download the backup. The file has the same format as the apps.
  2. Import a backup and choose between merge and replace.
  3. Export ingredients, formulas, inventory, sales and other data as CSV.

Settings

The business behind the calculations.

How to use it
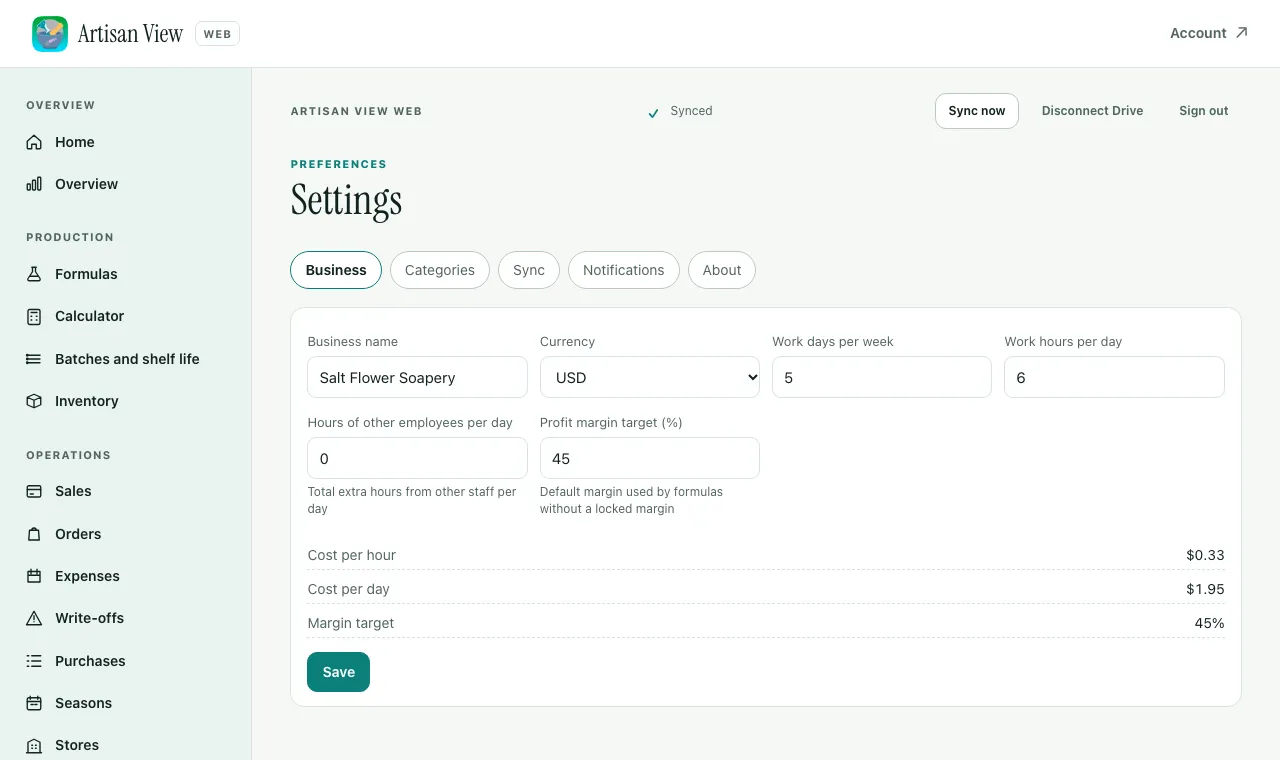
  1. Enter your work days, hours and margin target. They set the labor cost and the suggested price.
  2. Choose the currency, which changes only the display, and organize categories with the low stock alert.
  3. In the Sync tab, pick how often to sync. In Notifications, turn Artisan View notices on or off.
Settings screen of the web app, with work days and hours, currency and margin target

What the web version does not do

  • Scan receipts and barcodes with the camera. That stays in the apps.
  • Export XLSX or import spreadsheets.
  • Keep formula photos and store logos.
  • Sync through iCloud. The web version uses Google Drive only.

Frequently asked questions

Do I need a Google account?

Yes, a Google account with Drive. It stores and carries your data. If you only use iPhone and Mac, iCloud keeps working in the apps without that account.

Does Artisan View read my Drive files?

No. The permission covers only the hidden app folder. The other files in your Drive stay out of reach.

Can I use the web version and the app at the same time?

You can, but syncing compares the whole file, not each record. If you edit in both places before syncing, the app asks you to merge or replace. Sync before you switch devices.

Can I close the tab right after editing?

Wait for the Synced notice. Until then the data is only in the browser.

How do I disconnect Drive?

Click Disconnect Drive at the top of the screen. The site deletes and revokes the access key. The file stays in your Drive, and you can remove it from your Google account settings.

Ready to open it?

Sign in, connect Google Drive and start with the first section.

The steps are here. The work happens in the app.

Add your formulas and Artisan View works out cost, margin, and a suggested price for you.

See plans and pricing